Background:
One of the most common things you might have heard when you are coming to global state management as a new developer is that “Redux is too complex”, “It has too many boilerplates”, etc. I would request you to check the new Redux documentation and Redux Toolkit (RTK) before you jump to any conclusions.
To me personally, I love using redux as my global state management solution. Because of the followings:
- I already understand the Redux concept.
- Redux is heavily battle-tested in the industry.
- It has a high demand skill in the job market.
- RTK solves all the pain points that we used to face while using Redux.
As a react native developer I have recently played with Redux Toolkit, React Native Debugger and Redux persist to persist the global state in my react native app. This blog post is an attempt to document what I have learned.
Creating our RN App
We will be creating a minimal example of a React Native app to demonstrate redux integration. Let’s create the app by running it
expo init rn-redux-boilerplate
Once it is done, then we will install redux related packages
yarn add redux @reduxjs/toolkit react-redux redux-persist
What does our app do?
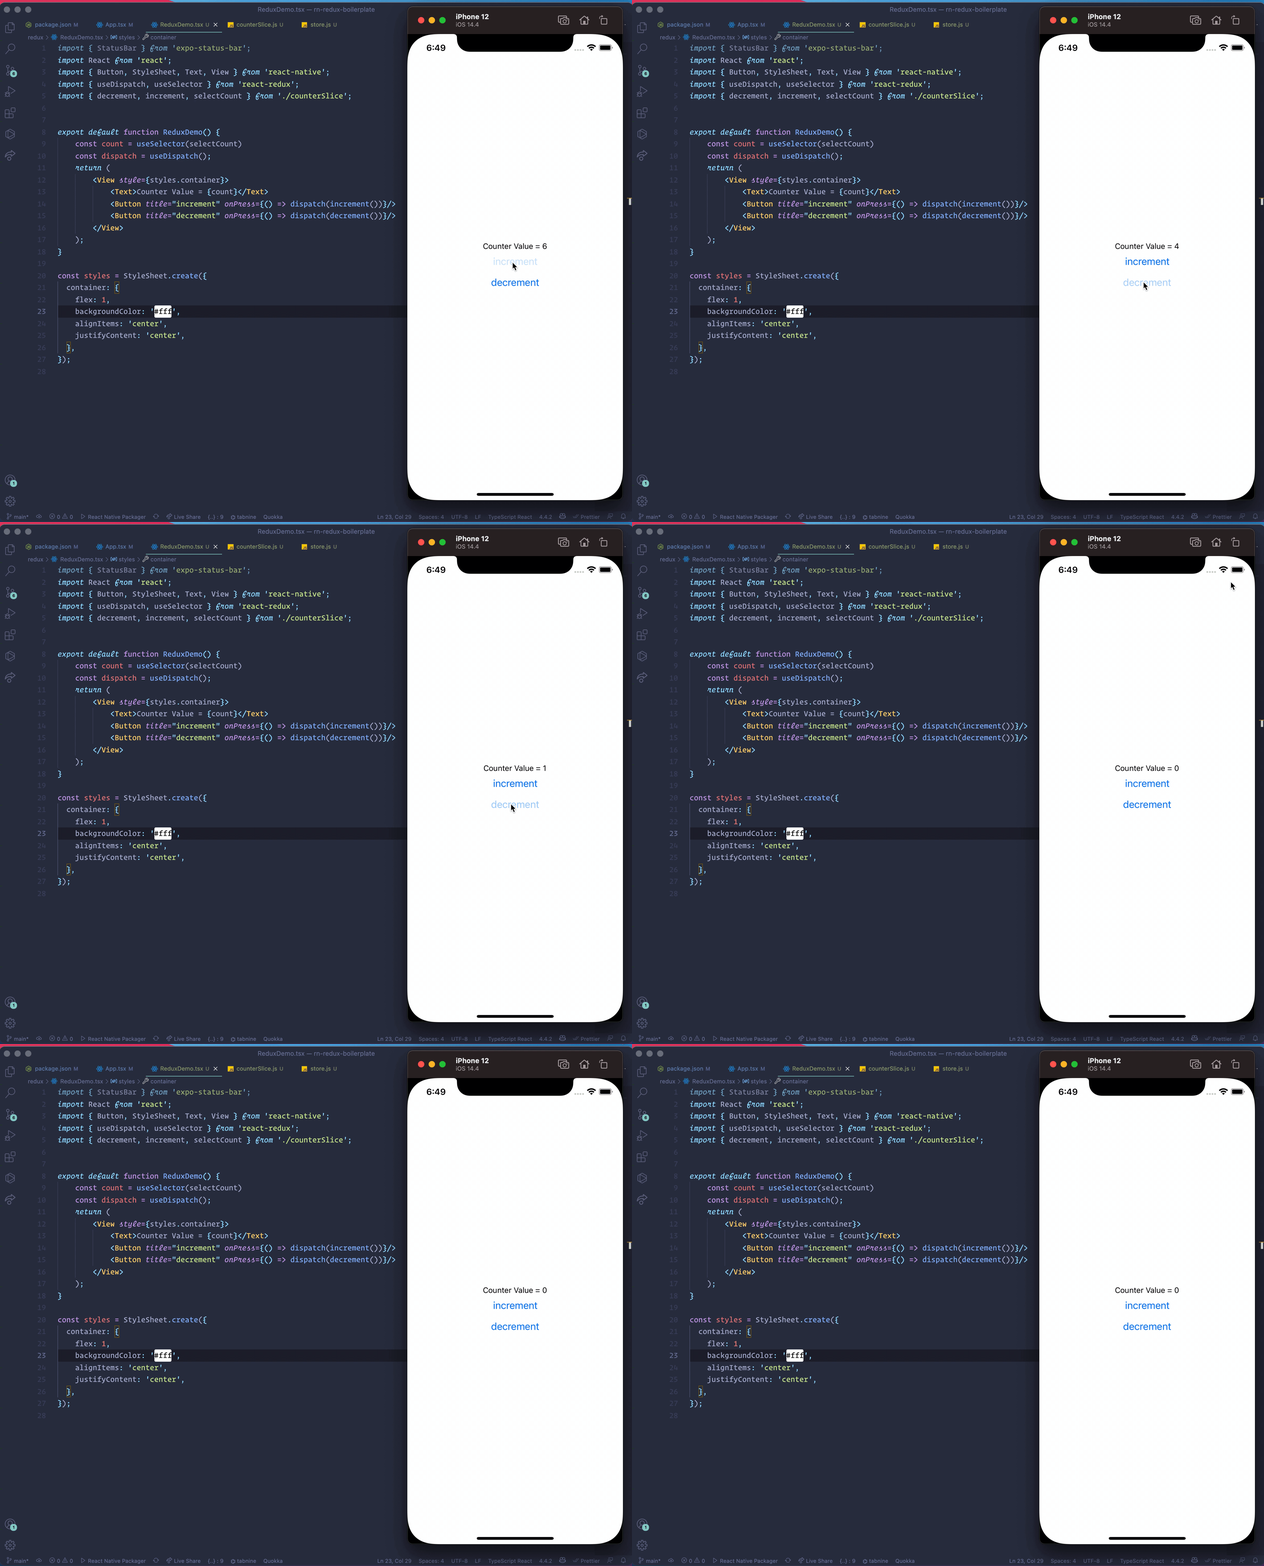
For this documentation purpose, the app is very minimal, the idea here is to integrate redux with we react native app, in our next part of this post we will work with a practical example. For now, we just want to create a counter functionality where we can increment and decrement the count.
Initialising our Redux
Now let’s create the redux functionality for your demo purpose. If you worked with redux before you may remember that we used to create multiple files to manage one state. For example, we might have created counterReducers, counterActions, counterActionType just to handle our counter state
Thanks to the redux toolkit, now everything is very neat and clean. We can put all the redux logic related to count in one file, which I name as counterSlice.js. We can put everything in one file like so
import { createSlice } from '@reduxjs/toolkit'

export const counterSlice = createSlice({
  name: 'counter',
  initialState: {
    value: 0
  },
  reducers: {
    increment: state => {
      // Redux Toolkit allows us to write "mutating" logic in reducers. It
      // doesn't actually mutate the state because it uses the immer library,
      // which detects changes to a "draft state" and produces a brand new
      // immutable state based off those changes
      state.value += 1
    },
    decrement: state => {
      state.value -= 1
    },
    incrementByAmount: (state, action) => {
      state.value += action.payload
    }
  }
})

export const { increment, decrement, incrementByAmount } = counterSlice.actions
export const selectCount = state => state.counter.value

export default counterSlice.reducer
Since the purpose of the post is not to explain redux concepts, I will move on to the integration part with React native.
Creating the store
With our counterSlice all set up, we can now create our store and link with our RN app. Let’s create a file called store.js inside our redux folder and create the store with our counterReducer from counterSlice.
import { configureStore } from '@reduxjs/toolkit'
import counterReducer from './counterSlice'

export default configureStore({
  reducer: {counter : counterReducer},
})
Our store is now set, we can wrap our app with this store and all the states from redux will be available to our app.
Providing the store
In our root component, we need to wrap the app with the store now.
import store from './redux/store'
import { Provider } from 'react-redux'

export default function App() {
  return (
    <Provider store={store}>
      <ReduxDemo />
    </Provider>

  );
}
Cool, with that our app is now connected with Redux Store.
Calling actions and getting value from redux in our component.
In our component, we can now get the counter value using selector and increment/decrement value using dispatch.
export default function ReduxDemo() {
    const count = useSelector(selectCount) // getting the counter value
    const dispatch = useDispatch(); // will use dispatch to call actions
    return (
        <View style={styles.container}>
            <Text>Counter Value = {count}</Text>
            <Button title="increment" onPress={() => dispatch(increment())}/>
            <Button title="decrement" onPress={() => dispatch(decrement())}/>
        </View>
    );
}

Redux Persist
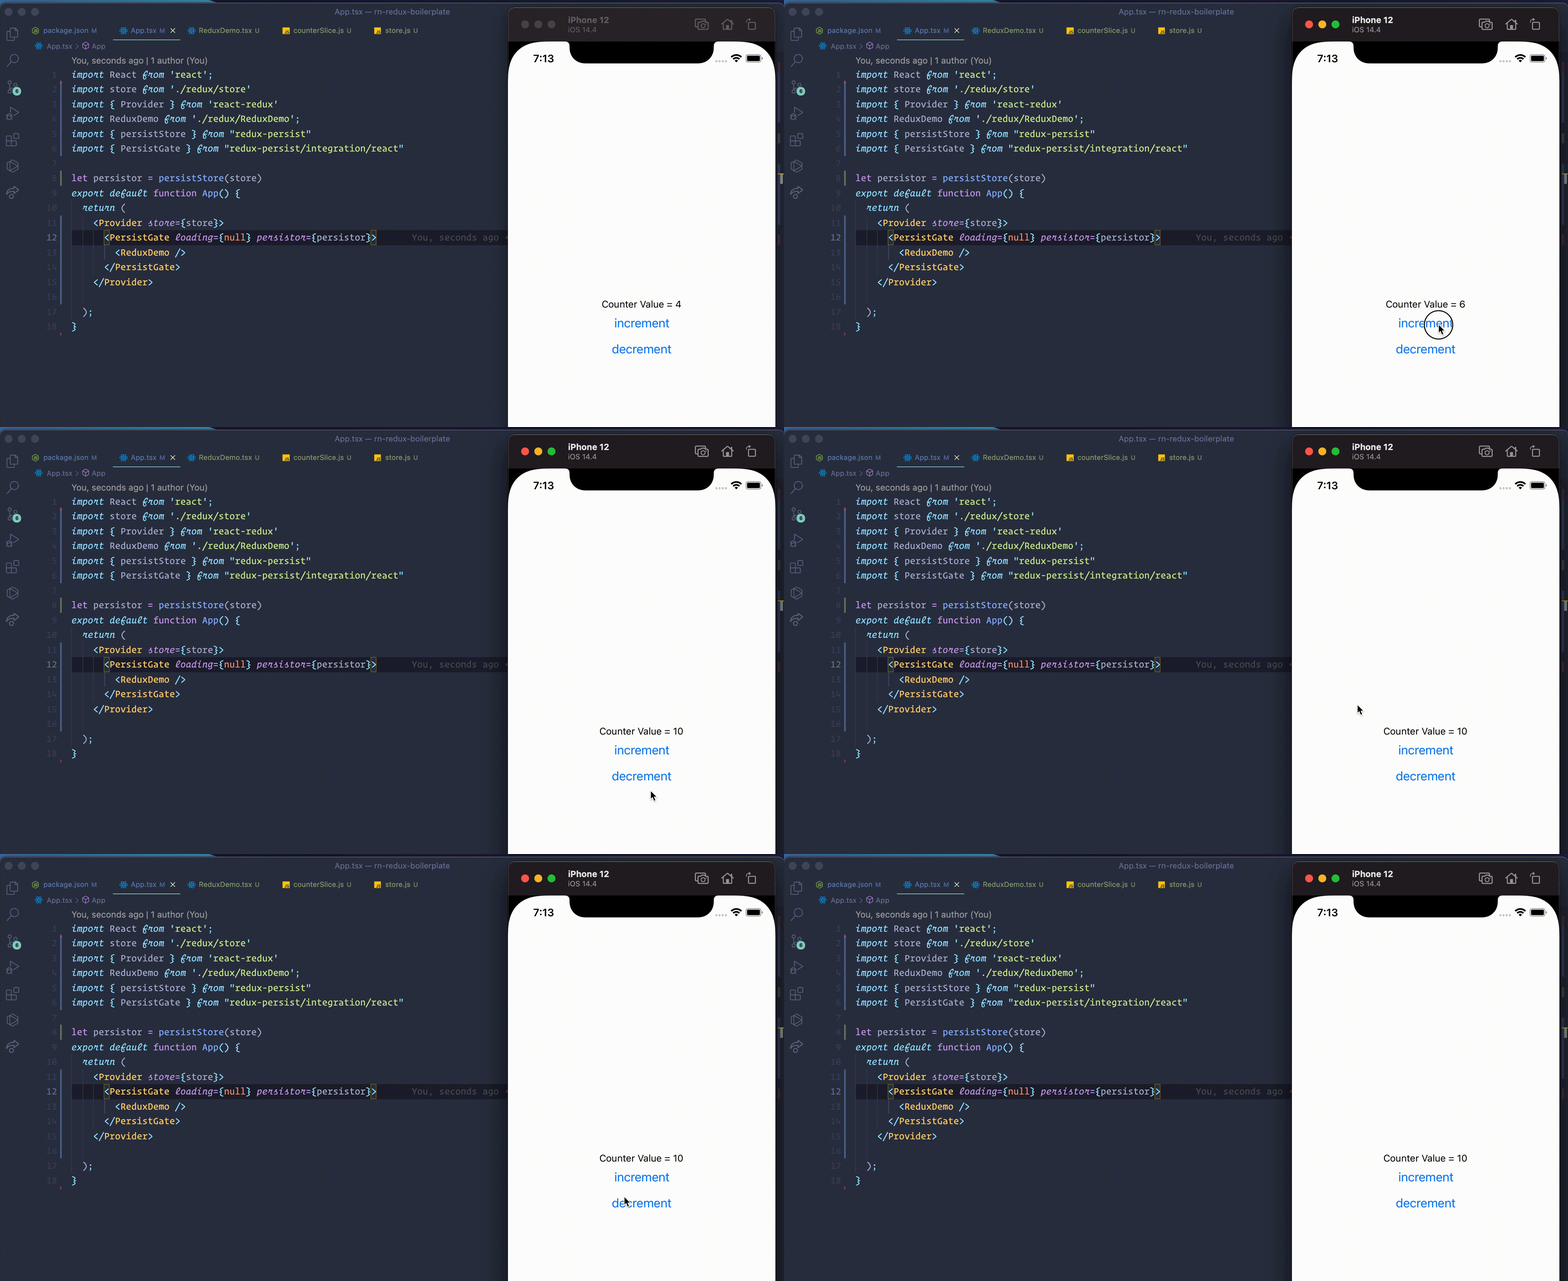
If we want to persist our state so that if users close the app and come back they will still see the previous value we can use redux persist. Redux persist will save the state in our local AsyncStorage. Let’s set that up now. We need to do some modifications to our store.js file.
const persistConfig = {
	key: "root",
	version: 1,
	storage: AsyncStorage,
}

const rootReducer = combineReducers({
	counter: counterReducer,
})

const persistedReducer = persistReducer(persistConfig, rootReducer)

export default configureStore({
  reducer: persistedReducer
})
Then also we need to add in our App.tsx file.
import { persistStore } from "redux-persist"
import { PersistGate } from "redux-persist/integration/react"

let persistor = persistStore(store)
export default function App() {
  return (
    <Provider store={store}>
      <PersistGate loading={null} persistor={persistor}>
        <ReduxDemo />
      </PersistGate>
    </Provider>

  );
}
If we close the app and come back again to our app, we will see that our counter value is set to the previous value before we close the app. It means that our persisting our global state is working.

React Native Debugger
One of the main advantages of Redux is that it has a very strong dev tool. You can see your state changes, actions being dispatched in real time. You can time travel between your actions and you get a whole snapshot of your global state. It is super useful when you are developing. For react native, you need to download this debugger from this open-source repo
Once installed just keep it open and go to the debugger option from the RN menu. You will see it will automatically start to show all the logs. Make sure your Chrome browser debugger is off and you are on the correct port. Here is a short preview of the debugger:

The idea of this post is to document the integration of Redux Toolkit, Redux persist, and RN debugger. So I have not explained any redux concept, hopefully, in future blog posts, I will give a practical example with an explanation of Redux.

